Organize and search your media
When to use this
Use this page to understand the Media library: the home for your studio’s imagery, from portfolio shots to reference pictures, and the pool that event moodboards draw from.
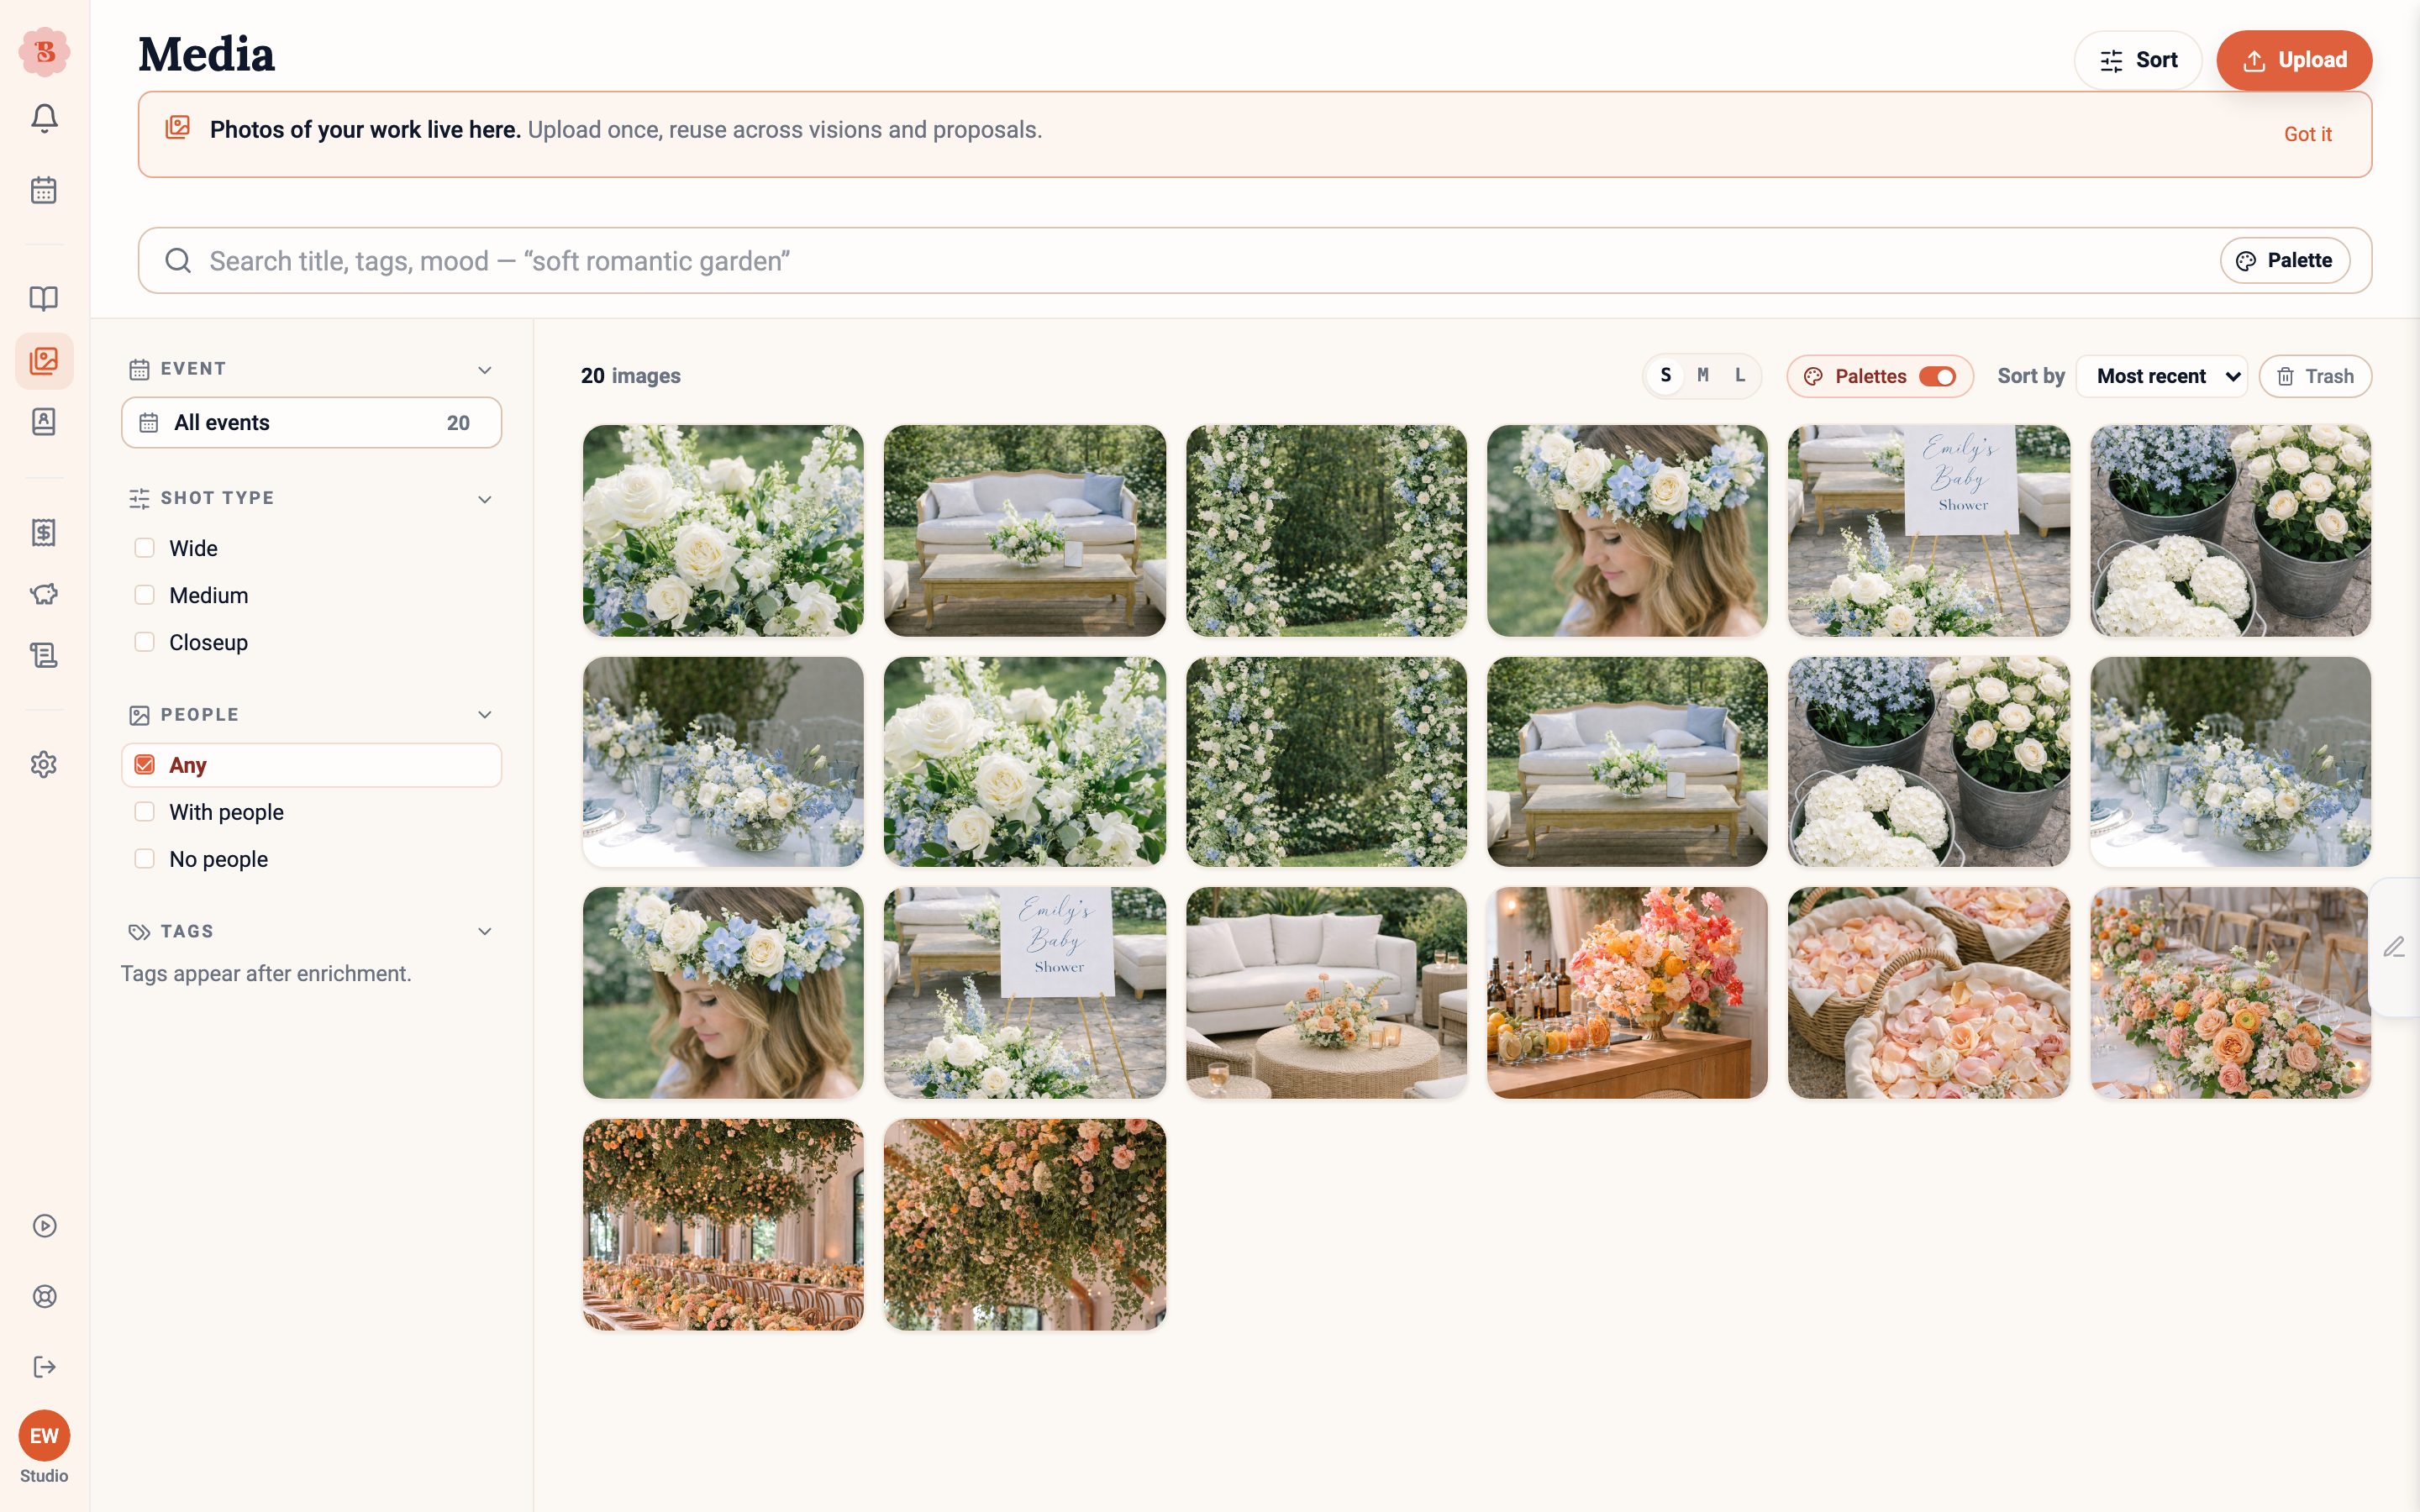
Uploading and detail
Upload with the button or by dragging images in. Each image has a detail panel with a description that saves as you type, tags, an automatically extracted color palette, download, and delete.
Every photo is analyzed the moment it joins the library, whether you upload it here, from an event’s image bank, or import it from Canva. Within about a minute its details read Analyzed, with a suggested description, tags and a palette, and the photo can be found by text or color search. You do not need to link a photo to an event for this to happen.
Photos a client attaches to a brief or an enquiry stay with that brief. They join the library, and get analyzed, when you accept the brief.
Tags are added automatically when BloomBoard looks at a new photo, for example the flowers and colors in it. You cannot type your own tags: a photo shows No tags yet. until it has been looked at. To add your own words to a photo, write them in its description.
You can also upload without leaving the design studio: Upload images in its Images panel follows the panel’s This event / All media switch, so an upload made on This event is linked to that event, and one made on All media simply joins the library. Designs imported from Canva land here too, and their detail panel names the Canva design they stay in sync with.
On a phone or a tablet, tap a photo to open it. Tap the round check in its corner to select it. To delete a photo, open it and use Move to trash in its details.
Finding images again
Search by text, or search by color: open the palette search and pick the tones you are after, or start from an image you like and search by its palette. Filters narrow by shot type, tags, and where the image came from, and a moodboard filter shows only images currently on a moodboard, marked with a star.
On a phone, tap Filters at the top of the page. Choose the shot type, people and tags in the panel, then tap Done.
Browsing a large library
A big library does not arrive all at once. Images load a page at a time as you scroll: reach the bottom of the grid and the next page fetches on its own, with a count telling you how far you have got — 60 of 340 files loaded, for example. If a page fails to load, the images you already have stay put and a Try again button fetches that page again.
- Sorting covers everything, not just what is on screen. The Sort button at the top of the page offers Most recent, Oldest, and Name, and each one reorders the whole library before the next page loads. The button works on every screen. On a phone it replaces the small Sort by control.
- A search or a filter shows up to 50 matches. That is enough to find a shot, not to browse. When you want the full collection back, clear the search and the filters.
- A failed load keeps what you already have. If the next page cannot be fetched, the images already on screen stay exactly where they are and you are offered another try.
The trash
Deleted images sit in the trash for 30 days, each showing its days left, and can be restored with one click until then.
Moving an image to the trash also takes it off any event moodboard it was picked for. The delete dialog says so before you confirm: the event line reads On the moodboard, and the note under the list reminds you that moodboard picks are released and are not restored with the image. Restoring an image brings it back to the library only; open Edit moodboard on the event to pick it again.
Media and event moodboards
From an event’s Vision section, Manage all brings you here scoped to that event, with a back link to return. Edit moodboard opens a selection overlay for choosing which images represent the event; a moodboard holds up to six. Saving updates the event immediately.
Import from Pinterest brings pins from a public Pinterest board into the event. It shows when the page is opened for an event with In event selected. Paste the board’s link, select Load board, pick the pins, then select Import. Pins the event already has are greyed out and marked, and Select all skips them. After the import, a note above the grid says how many images came in, and each one carries a New mark until you leave the page. To show some of them to the client, choose them with Edit moodboard. You can also bring in pins while you set up an event, on its Vision step, or put pins straight on the moodboard with From Pinterest in the event’s Vision section. See Build a proposal.
Ask the assistant
- Send photos or a PDF to the assistant in chat and ask it to add them to an event. It adds them to the event’s photos and files, and can put the photos on the moodboard. Photos you send in chat count toward this month’s photo uploads.
- Ask it to import a public Pinterest board into an event. It tells you how many pins the board has, then imports the pins the event does not have yet (up to 100). Ask for the moodboard and it fills the moodboard’s free places instead.
- Undo takes the photos off the event again; imported pictures stay in your media library.
An event’s image bank has no size limit. Your studio can add up to 5,000 images a month across all its events, and the allowance starts again on the first of each month.
The library is studio-wide, but a moodboard belongs to its event. Curate the six that tell that event’s story, and keep the wider collection in the library.